Why Dryer Maintenance Matters More Than Most People Think
Most homeowners don’t think about their dryer until it stops working. But the truth is, a dryer that’s properly maintained runs more efficiently, lasts significantly longer, and — most importantly — is far less likely to cause a house fire. The U.S. Fire Administration estimates dryers are responsible for approximately 2,900 home fires per year, with the leading cause being failure to clean lint from the machine and exhaust system.
The good news: most dryer maintenance is quick, simple, and doesn’t require any tools. Our technicians service dryers across Huntersville and the Lake Norman area every week, and the majority of no-heat calls, slow-drying complaints, and component failures we see are directly traceable to skipped maintenance. This checklist covers everything you need to keep your dryer running well — organized by how often each task needs to be done.
After Every Load
These two tasks take less than thirty seconds combined and have the biggest impact of anything on this list.
- Clean the lint trap. Pull the lint screen out, peel off the lint, and replace it before the next load. A clogged lint trap reduces airflow immediately, forces the heating element to work harder, extends drying time, and is the single most common cause of dryer fires. Never run the dryer without the lint screen in place.
- Don’t leave the dryer running unattended for extended periods. This isn’t a cleaning task, but it’s worth stating clearly: dryers should not be left running while you’re asleep or out of the house. If something goes wrong — a clog, an overheating element, a failing component — an unattended dryer is where house fires start.
Monthly Maintenance Tasks
- Deep-clean the lint trap with warm water. Over time, fabric softener residue and dryer sheet coating builds up on the lint screen mesh, reducing airflow even when the visible lint has been removed. Once a month, wash the screen under warm running water with a soft brush and let it dry completely before reinstalling. You’ll be surprised how much residue comes off a screen that looked clean.
- Check the exhaust duct behind the dryer. Pull the dryer out slightly and visually inspect the duct connection at the back of the machine. Confirm it’s still securely attached, not kinked, and not crushed against the wall. A duct that’s been compressed by the dryer being pushed too close to the wall restricts airflow significantly and is one of the most common causes of thermal fuse failures.
- Wipe down the drum interior. Use a damp cloth to wipe the inside of the drum, removing any residue from fabric softener sheets, ink from pens left in pockets, or transfer from dark clothing. For stubborn stains, a small amount of rubbing alcohol on a cloth works well. Always run a cycle with old rags afterward to remove any cleaning residue before washing good clothes.
Quarterly Maintenance Tasks
- Inspect the full exhaust duct run. Follow the duct from the back of the dryer to where it exits the house. Check every joint and connection for separation, and check the duct itself for kinks, crushing, or excessive bends. If you’re using flexible foil or plastic duct, consider replacing it with rigid metal duct — it’s far more resistant to crushing and lint accumulation.
- Check the exterior vent cap. Go outside and find where your dryer vent exits the house — usually on an exterior wall or the roof. The vent cap should have a flap that opens freely when the dryer is running and closes when it’s off. Check that the flap isn’t stuck open (which allows pests and cold air in) or stuck closed (which blocks all exhaust airflow). Clear any lint, debris, or bird nesting from the cap opening.
- Clean around and under the dryer. Lint accumulates under and around the dryer cabinet over time. Use a vacuum with a crevice attachment to clear lint from the floor area, the dryer feet, and any accessible gaps around the lower cabinet panels. Lint accumulation near the motor or heating element area — even outside the machine — is a fire risk.
- Check the power cord and outlet. Inspect the dryer’s power cord for any signs of wear, fraying, or heat damage where it connects to the machine and at the outlet. The outlet itself should show no discoloration, burning smell, or looseness. Electric dryers run on 240V — any signs of electrical issues at the outlet should be addressed by an electrician promptly.
Annual Maintenance Tasks
- Professional vent cleaning. Even with regular inspection and quarterly checks, lint accumulates inside the duct walls over time — particularly in longer duct runs, around bends, and inside the duct itself where it’s not visible. A professional vent cleaning with a rotary brush kit clears the full run from the machine to the exterior cap. We recommend this annually for most homes, and every six months for homes with long duct runs, multiple bends, or heavy laundry use. This single task prevents the majority of thermal fuse failures and heating element burnouts we see on service calls.
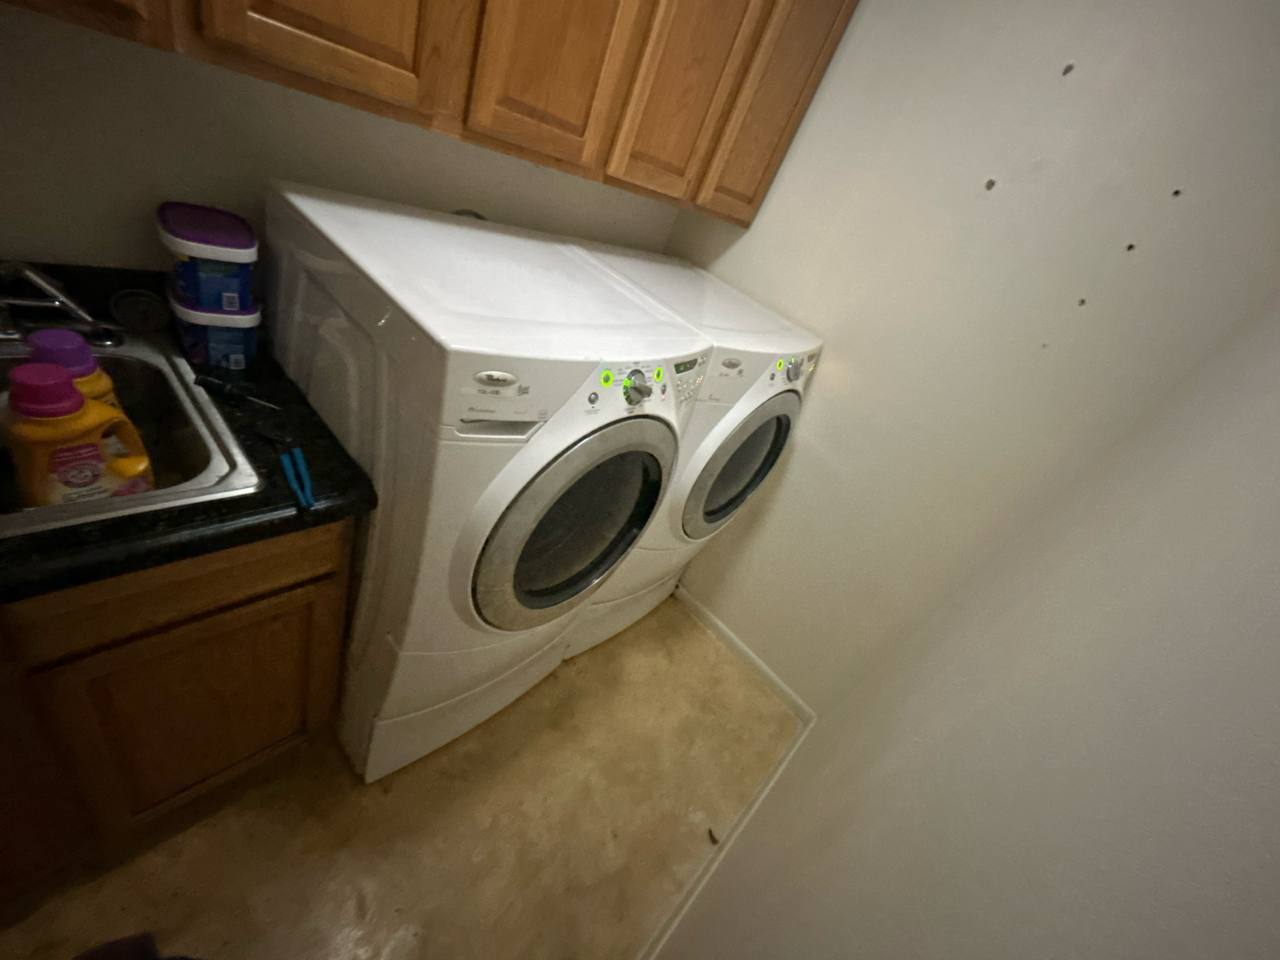
- Internal lint cleaning. Lint doesn’t just accumulate in the duct — it builds up inside the dryer cabinet itself, around the motor, the heating element housing, and the blower wheel area. If your drying times have increased significantly, internal lint buildup is often a contributing factor alongside a restricted vent. A technician can access and clean these areas during a maintenance visit. See our notes on how restricted airflow caused a Whirlpool dryer to stop drying properly — a real example of what happens when internal cleaning is skipped too long.
- Inspect drum seals and glides. The felt or nylon seals around the drum opening and the drum glides (the small pads the drum rides on) wear down over years of use. When they go, you’ll notice a scraping sound during operation, or hot air escaping from the front of the machine rather than circulating through the drum. A technician can inspect and replace these during an annual service visit.
- Check leveling and feet. Over time, dryers can shift slightly out of level, particularly on hard floors. An unlevel dryer vibrates more during operation, which accelerates wear on drum bearings, motor mounts, and cabinet hardware. Check with a level and adjust the feet as needed — most dryer feet twist up or down by hand.
Signs Your Dryer Needs a Service Call — Not Just Maintenance
Regular maintenance keeps your dryer healthy, but some symptoms indicate a component has already failed and needs professional attention. Contact a technician if you notice:
- Clothes taking more than one full cycle to dry despite a clean lint trap and clear vent
- No heat at all — drum tumbles but air stays cold
- A burning smell during operation
- Loud squeaking, grinding, or banging sounds
- The dryer stops mid-cycle or won’t start
- Error codes on the display
- The exterior of the machine feels excessively hot to the touch
Our dryer repair team serves Huntersville, Cornelius, Davidson, Mooresville, and the surrounding Lake Norman area with same-day and next-day appointments.
Frequently Asked Questions About Dryer Maintenance
What maintenance does a dryer need?
The core maintenance tasks are: clean the lint trap after every load, deep-clean the lint screen monthly, inspect and clean the exhaust duct quarterly, check the exterior vent cap quarterly, and have the full vent run professionally cleaned annually. Internally, drum seals, glides, and lint buildup around the motor and heating element should be inspected and cleaned annually by a technician.
What is the most common dryer problem?
By far, the most common dryer problem we see is clothes not drying fully in one cycle — caused by restricted airflow from a clogged exhaust vent, a dirty lint screen, or both. It’s followed closely by thermal fuse failures (also caused by restricted airflow that leads to overheating) and worn drum seals that allow heat to escape before it dries the load. Regular vent cleaning and lint trap maintenance can prevent the vast majority of these calls.
How to service your own dryer?
DIY dryer maintenance includes cleaning the lint trap after every load, washing the lint screen monthly, checking and cleaning the exhaust duct quarterly, and clearing the exterior vent cap. You can also vacuum lint from under and around the dryer and check the power cord for wear. Internal cleaning — around the motor, heating element, and blower wheel — and drum seal inspection are best handled by a technician who can safely access those components.
Can I use WD-40 on my dryer drum?
No, and it is important to be very clear about this. WD-40 is a petroleum-based product and highly flammable. Applying it inside a dryer drum creates a genuine fire hazard. If your drum is making a squeaking or scraping sound, the cause is almost certainly worn drum glides, drum bearings, or felt seals — not something that needs lubrication inside the drum itself. Have a technician diagnose the noise and replace the worn components properly.
Can dryer lint cause allergies?
Yes, it can be a contributor. Dryer lint is a fine particulate composed of fabric fibers, dust, pet dander, and other airborne particles from your laundry. When lint accumulates inside the dryer, in the duct, or around the exterior vent cap, it can be redistributed into the air. People with dust allergies or respiratory sensitivities may notice symptoms worsen in laundry rooms where lint buildup is significant. Regular cleaning — particularly of the lint trap and vent system — reduces the risk significantly.
What is the average lifespan of a dryer?
Most electric and gas dryers have an average lifespan of 10–13 years with normal use and basic maintenance. Premium brands like Speed Queen, Miele, and well-maintained commercial-grade machines can last 15–20 years. Machines that have their vents cleaned regularly, lint traps cleaned after every load, and drum components serviced when worn consistently outlast machines that don’t receive that care by several years. When repair costs exceed 50% of the cost of a comparable new machine and the dryer is over 10 years old, replacement is worth considering.
Why is my dryer not drying properly even though it is heating?
If the dryer is producing heat but clothes still come out damp, the most common causes are restricted exhaust airflow (clogged vent or lint trap), worn drum seals allowing heat to escape, or an overloaded drum that prevents proper air circulation through the load. Start by cleaning the lint trap and checking the vent for restrictions. If that doesn’t resolve it, a technician can check the drum seals and internal airflow. See our detailed breakdown of exactly this issue on a Whirlpool dryer in Huntersville.

.svg)
.svg)